A Comprehensive Guide to Shutter Installation
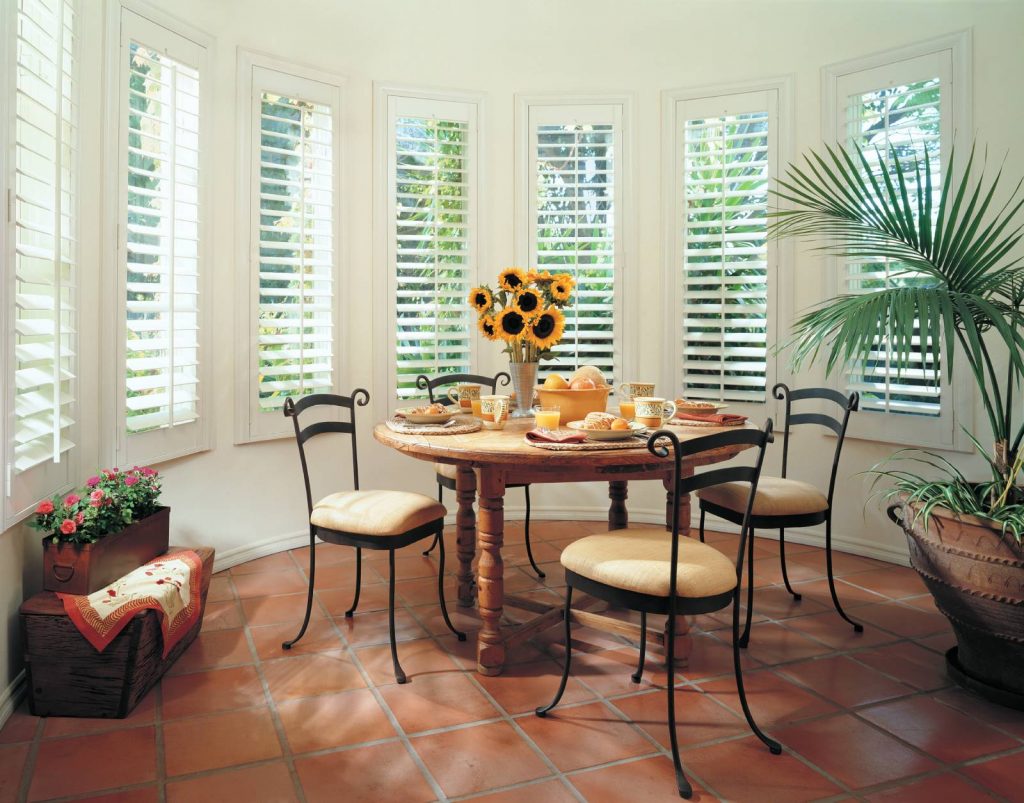
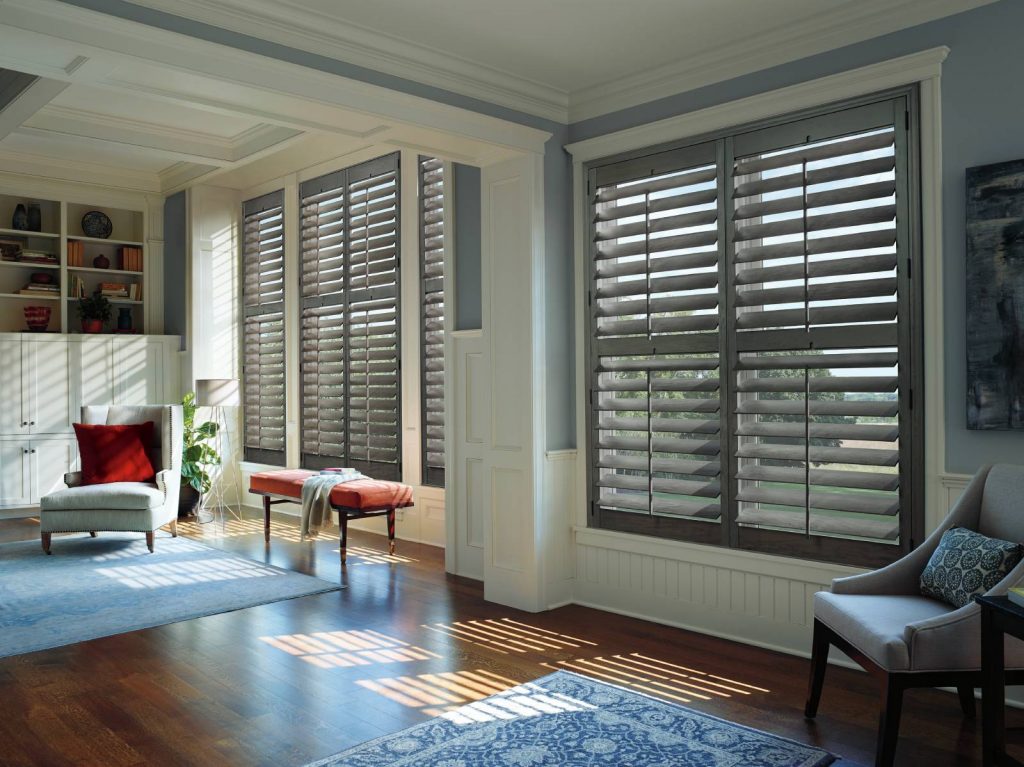
Shutter installation is a great way to add value and style to your home. Shutters are an attractive and functional addition that will not only enhance the beauty of your home but also provide protection from the elements. Installing shutters can be done on both interior and exterior windows, giving you complete control over the amount of light entering each room in your house.
In this comprehensive guide, we’ll explain how to measure shutter installation, select materials, install them correctly, and maintain them properly so they look beautiful for years to come. Whether you’re a DIYer or hiring a professional shutter installer, this guide will give you all the information you need for successful shutter installation.
- Measuring for Shutters: Before ordering your shutters, it’s important to make sure you get the right size for each window. First, measure the width of your window from side-to-side and top-to-bottom. To ensure a perfect fit, make sure to include any molding or trim when measuring. Next, decide how many panels you’ll need for each window and measure the height of each panel separately.
- Selecting Materials: With so many materials available for shutter installation, it can be difficult to select the best option for your home. Wood is a popular choice due to its classic look and durability but could require more maintenance than other materials. Vinyl is low-maintenance and lightweight, making it an ideal choice for those looking for a more affordable option. Aluminum and composite shutters are also great options, offering beauty and strength without the bulk of wood.
- Installing Shutters: Once you have the proper measurements and materials, it’s time to install your shutters. Start by attaching the hardware to your window frame or trim with screws. Then carefully lift each shutter panel into place and secure it with screws at the top and bottom. When installing larger panels, consider using multiple hinges as this will help evenly distribute the weight of each panel. Finally, make sure all screws are tightened securely in order to ensure that your shutters remain stable over time.
- Maintaining Shutters: Proper maintenance is essential when it comes to preserving your shutters’ beauty and functionality. For wood shutters, use a mild detergent to clean the surface and then apply a coat of furniture wax to protect it from moisture. Vinyl shutters can be cleaned with soap and warm water while aluminum or composite materials should be regularly checked for any signs of damage such as rust or corrosion.
Installing shutters is a great way to add value and style to your home that also provides protection from the elements. It is important to measure correctly, select materials carefully, install them properly and maintain them regularly in order to ensure your shutters look great for years to come. By following the tips in this comprehensive guide, you’ll have all the information needed to complete successful shutter installation. With the right measurements, materials, and maintenance, your shutters will look beautiful for years to come.
Thank you for reading this comprehensive guide to installing shutters! We hope that it has been helpful and wish you luck with your project!
https://www.google.com/maps?cid=15482047692070944743